
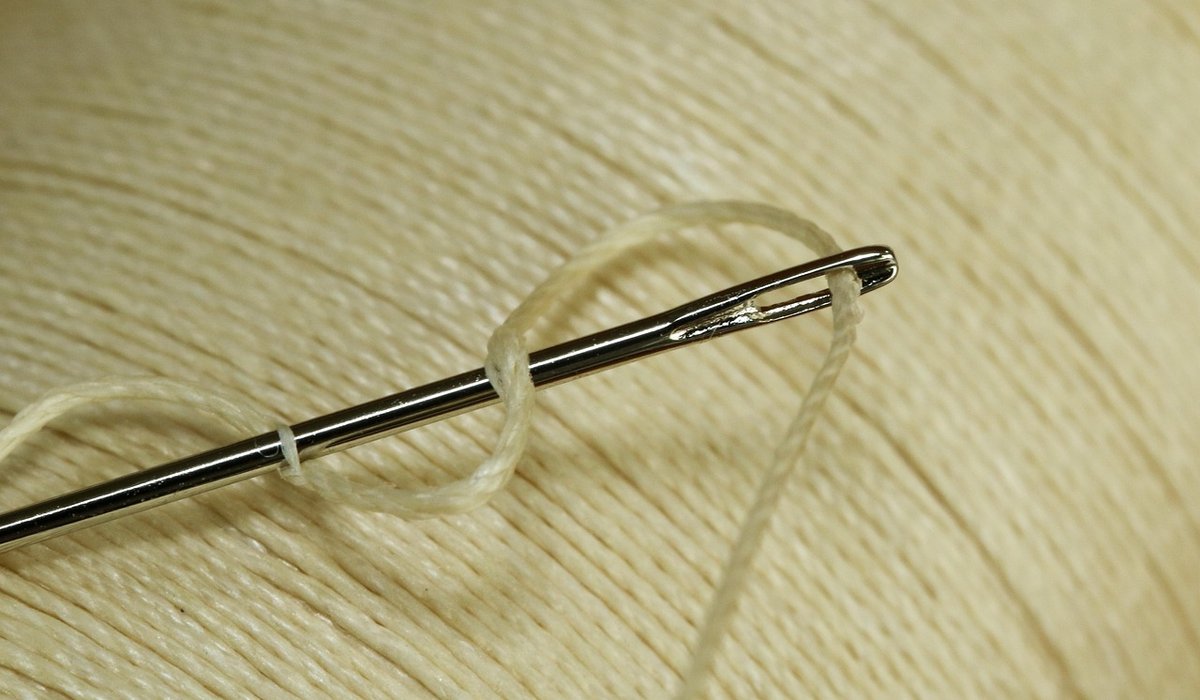
Making Simple Linen Napkins with Mitred Corners
Why linen napkins deserve an evening of your time
Linen has been woven from flax for thousands of years, and it is still one of the most sensible fibres you can put on a table. It drinks up spills, dries quickly, resists the bacteria that make dishcloths smell, and softens beautifully with every wash. A stack of cloth napkins also saves a small mountain of paper over a year.
Best of all, a napkin is a gift of a project. Four straight seams, four corners, no fitting and no pattern. The only skill that really matters is careful pressing — the machine simply follows the creases you have already made. If you can sew a straight line, you can make a set of six in an evening or two.
Choosing and preparing your linen
- Fabric: look for a mid-weight linen, around 165–200 g/m². Lighter weights fray and flop; heavier furnishing linens are stiff and awkward to turn. A linen-cotton blend is slightly more forgiving for a first attempt.
- Quantity: for four napkins cut 47 cm squares, buy 2 metres of 140 cm-wide cloth and allow for shrinkage.
- Thread and needle: a good-quality cotton or linen thread in a matching or toning colour, and a 80/12 or 90/14 needle. Linen blunts needles, so change it after a few hours of work.
Pre-wash the whole length before you cut anything. Linen can shrink by five to ten per cent, and a napkin that shrinks after hemming will pucker along its seams. Wash it hot, dry it, and press it while still faintly damp. Then cut your squares by pulling a single weft thread across and cutting along the gap it leaves — you will get a perfectly straight edge that follows the weave rather than fighting it.
Pressing a hem that behaves
Set your iron to linen with plenty of steam, or keep a spray bottle and a damp pressing cloth to hand. Press rather than iron: lift the iron and set it down again rather than sliding it about, so the fabric does not stretch out of shape.
Work around each napkin one edge at a time. Turn the raw edge under by 1 cm and press, then turn it again by 2 cm and press. The raw edge now sits tucked inside the hem and cannot fray out. A strip of card marked at 1 cm and 2 cm, or a metal hem gauge, keeps the depth consistent from napkin to napkin.
Stop pressing about 4 cm short of each corner. Those corners need to stay soft and unpressed so you can manipulate them into a mitre. When all four edges are done, go back and press the finished thing flat and crisp — this is the stage that decides whether your napkins look handmade in a good way or a rushed one.
Folding and stitching a mitred corner
Open out the two pressed hems at one corner so the fabric lies flat again, with the creases still visible. Fold the corner diagonally, right sides together, bringing the two raw edges together so the pressed crease lines meet and sit on top of one another. The tip of the corner should now rest exactly on the point where the two crease lines cross. Pin along the diagonal fold.
Stitch across the corner at right angles to that fold, running from the folded edge to the point where the creases intersect — a short seam of roughly 3 cm. Trim the excess corner away, leaving about 6 mm, and press the seam open with the tip of your iron. Turn the corner through and fold the hems back into place: the diagonal you have just sewn becomes the mitre, and the two hem folds butt up neatly against it.
Repeat for every corner. If you prefer a quicker finish, you can simply fold and press the corner without stitching and rely on the final topstitching to hold it, but the stitched version stays crisp through years of washing.
Topstitching and finishing
Sew the hem with the machine set to a 2.5–3 mm stitch, which sits well on linen. Start at a mitre, sew along the edge, and stop with the needle down at the next corner. Lift the presser foot and pivot the fabric through ninety degrees, then carry on. Working around the whole napkin in one continuous pass gives the tidiest result, and the line of stitching runs straight across each mitre.
Press the finished napkins on the wrong side first to set the stitches, then on the right side with steam to sharpen the hems. A light spray of water and a firm press will make the corners lie flat and square.
Living with them
Wash your napkins at 40°C with your normal detergent and skip the fabric softener, which coats the fibre and reduces its absorbency. Line dry where you can, or tumble on low and remove them while still damp, then press. Avoid bleach on coloured linen.
Once you have mastered the mitre, it opens up a great deal: table runners, tea towels, bread cloths and cushion covers all use the same corner. Make a set in a neutral oatmeal for everyday, then a second set in a deeper colour for the good plates.
tag: Sewing Projects

Eleanor Whitaker Author
Prepare flax tow and line fibres with hand cards and combs, separating short from long staples before spinning.
YOU MAY ALSO LIKE
Carding and Combing Flax Fibres for Spinning
Jul 4
10Combine linen sheets, wool throws, and wooden surfaces to create a calm, tactile bedroom that feels warm and inviting.
read more
Layering Natural Textures in a Bedroom
Jul 2
10Turn worn sheets and towels into cleaning cloths, patchwork panels, or garden ties instead of sending them to landfill.
read moreLinen Care
-

ERRIC CATONA
Learn how different weave structures change the look, drape, and durability of linen fabric before you buy or sew.
May 19, 2016 at 5.12 pm
Reply
ERRIC CATONA
Learn a gentle hand-wash method for stiff new linen, using mild soap and cool water to keep fibres strong and colours fresh.
May 19, 2016 at 5.12 pm
Reply -
ERRIC CATONA
Discover how to sow flax seeds in pots, care for delicate seedlings, and harvest stems for small-scale fibre projects at home.
May 19, 2016 at 5.12 pm
Reply
Natural Dyeing
Your email address will not be published.