
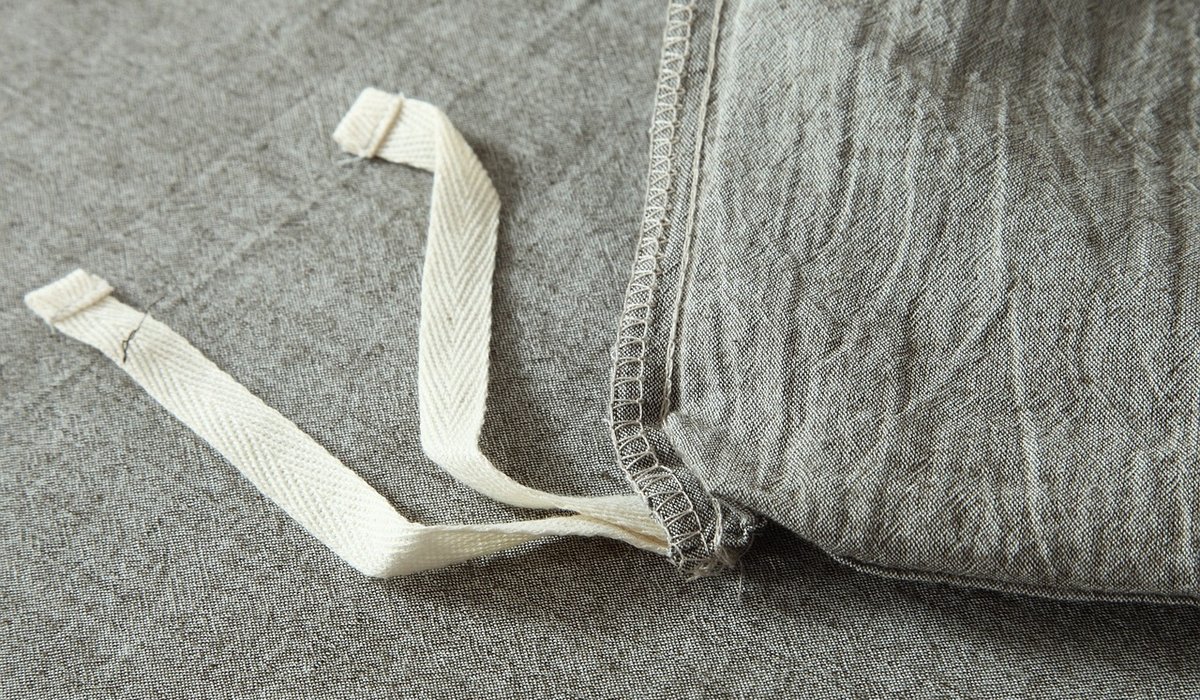
Mending Linen Clothes with Visible Sashiko Stitches
Why linen and sashiko belong together
Linen has a reputation for wearing hard, and rightly so — but it also has a long memory. The fibre creases where it is folded, softens where it is used, and eventually thins exactly where you would expect: elbows, knees, the seat of trousers, the edge of a shirt collar. A small tear in linen is not a catastrophe. It is an invitation.
Sashiko is the Japanese tradition of running-stitch reinforcement, originally worked in white cotton thread on indigo cloth. It was never meant to be invisible. The stitches are the point: they add strength, hold a patch in place and turn a wound into a deliberate mark. On linen, which is smooth, slightly crisp and beautifully plain, that honesty looks especially well. A pale linen shirt with a storm of white stitches across the elbow becomes something you reach for rather than something you hide at the back of the drawer.
What you need in your mending kit
You need less than you think, but the right few things make the difference between a repair that lasts and one that pulls free in a fortnight.
- Sashiko or thick cotton thread. Look for a tightly twisted 4-ply cotton, roughly the weight of fine string. Ordinary sewing thread is too thin and will cut through worn linen; embroidery floss is too soft and frizzes.
- A long sashiko needle. These are 45 to 60 millimetres long with a large eye, so you can load several stitches onto the needle before pulling through.
- A thimble that works for you. A leather palm thimble or a metal ring thimble saves your fingertip when pushing through doubled linen.
- Patch fabric. A scrap of similar-weight linen or cotton, ideally pre-washed so it does not shrink later. Old sheeting is excellent.
- Marking tools. Tailor's chalk, a water-soluble pen and a small ruler for laying out a grid.
Preparing the repair before you stitch
Start by stabilising the damage. If the linen is frayed at the edges of the tear, trim away only the wisps that will not hold — never cut into sound cloth. Press the area flat with a warm iron. Linen behaves best when it is smooth but not scorched.
Now cut a patch that extends at least 2 centimetres beyond the tear in every direction. Place it behind the hole and align the grain: the warp and weft of the patch should run parallel to the warp and weft of the garment. Linen has almost no stretch, so mismatched grain will pucker and fight you with every stitch. Pin the patch in place, or tack it with a few long running stitches if pins keep shifting.
If the fabric around the tear is thin but not broken, you can skip the patch and simply work sashiko over the weakened area. The stitching itself adds density and takes the strain.
Stitches and patterns worth learning
Sashiko is built on one stitch — the running stitch — arranged in patterns. Aim for stitches and gaps of roughly equal length: 3 to 4 millimetres is a good working size on linen. Keep the thread relaxed; if the cloth dimples, you are pulling too tight.
- Komezashi (rice stitch): a simple grid, like grains of rice laid in rows. Ideal for covering a square repair.
- Juujizashi (cross stitch): a line of crosses, quick to work and very forgiving of uneven spacing.
- Yamagata (mountain): stacked triangles that follow a hem or a seam beautifully.
- Asanoha (hemp leaf): a star-like repeat, traditionally stitched onto children's clothing for strength.
- Seigaiha (blue sea waves): overlapping arcs, lovely across a broad patch on a trouser thigh.
Choose one pattern per repair. Mixing two on a small tear looks busy; a single motif reads as intention.
Working the repair, step by step
Begin at one end with a small knot on the wrong side, hidden under the patch. Work across the tear in a straight line, loading three or four stitches onto the needle before drawing the thread through. Do not backstitch at the ends of a row — a knot or a short overlap is enough, as backstitching creates bulk that will rub.
Work one direction, then turn the work and cross the lines at right angles or diagonally, depending on your pattern. The crossing is what gives sashiko its strength: the cloth is held in two directions, so a small tear cannot creep longer. When you reach the edge of the patch, finish on the wrong side with a knot beneath the fabric.
Press the finished repair from the wrong side over a towel. This settles the stitches into the cloth and softens any stiffness.
Washing, wearing and letting the mending age
Mended linen should be washed gently: 30°C, a mild detergent, no harsh bleaching, and a short spin. Skip the tumble dryer — heat and tumbling abrade both the linen and the stitching. Line dry in the shade, and pull the garment into shape while damp.
Expect the repair to improve with time. Sashiko thread softens, the linen around it fades, and the stitches settle into a faintly quilted texture that no shop-bought finish imitates. Mend a shirt when you first notice a thin patch rather than waiting for a hole, and check the inner elbows and knees each time you iron. A little attention at the right moment saves a great deal of stitching later.
The result is a garment that carries its history openly, and wears longer for it.
tag: Craft Techniques

Harriet Penrose Author
Organise fabric scraps, save thread ends, and choose tools that last to make your craft space more eco-friendly.
YOU MAY ALSO LIKE
Reducing Waste in a Small Sewing Room
Aug 25
10Keep linen fresh by folding loosely, using breathable cotton bags, and storing away from direct sunlight and damp walls.
read more
How to Store Linen to Prevent Creases and Damp
Aug 22
10Create warm red tones on cellulose fibres using madder root, chalk, and a gentle heat source for consistent results.
read moreLinen Care
-

ERRIC CATONA
Plan a dual-purpose flax patch, sow at the right density, and manage weeds carefully without harming slender stems.
May 19, 2016 at 5.12 pm
Reply
ERRIC CATONA
Make a tailored cushion cover entirely by hand, adding piping and a concealed opening for a neat finish.
May 19, 2016 at 5.12 pm
Reply -
ERRIC CATONA
Learn traditional tools and safe methods for breaking woody flax stems, then scutching away shives to reveal long fibre.
May 19, 2016 at 5.12 pm
Reply
Natural Dyeing
Your email address will not be published.